Make A Slip Knot
The first step for many popular cast ons.
Making a slip knot is super easy. If you have made it correctly, the knot can be tightened by pulling on the ball end of the yarn.

How to do it:
Basic Principle: You’ll be creating a knot that slides easily along the yarn to create a resizable loop.

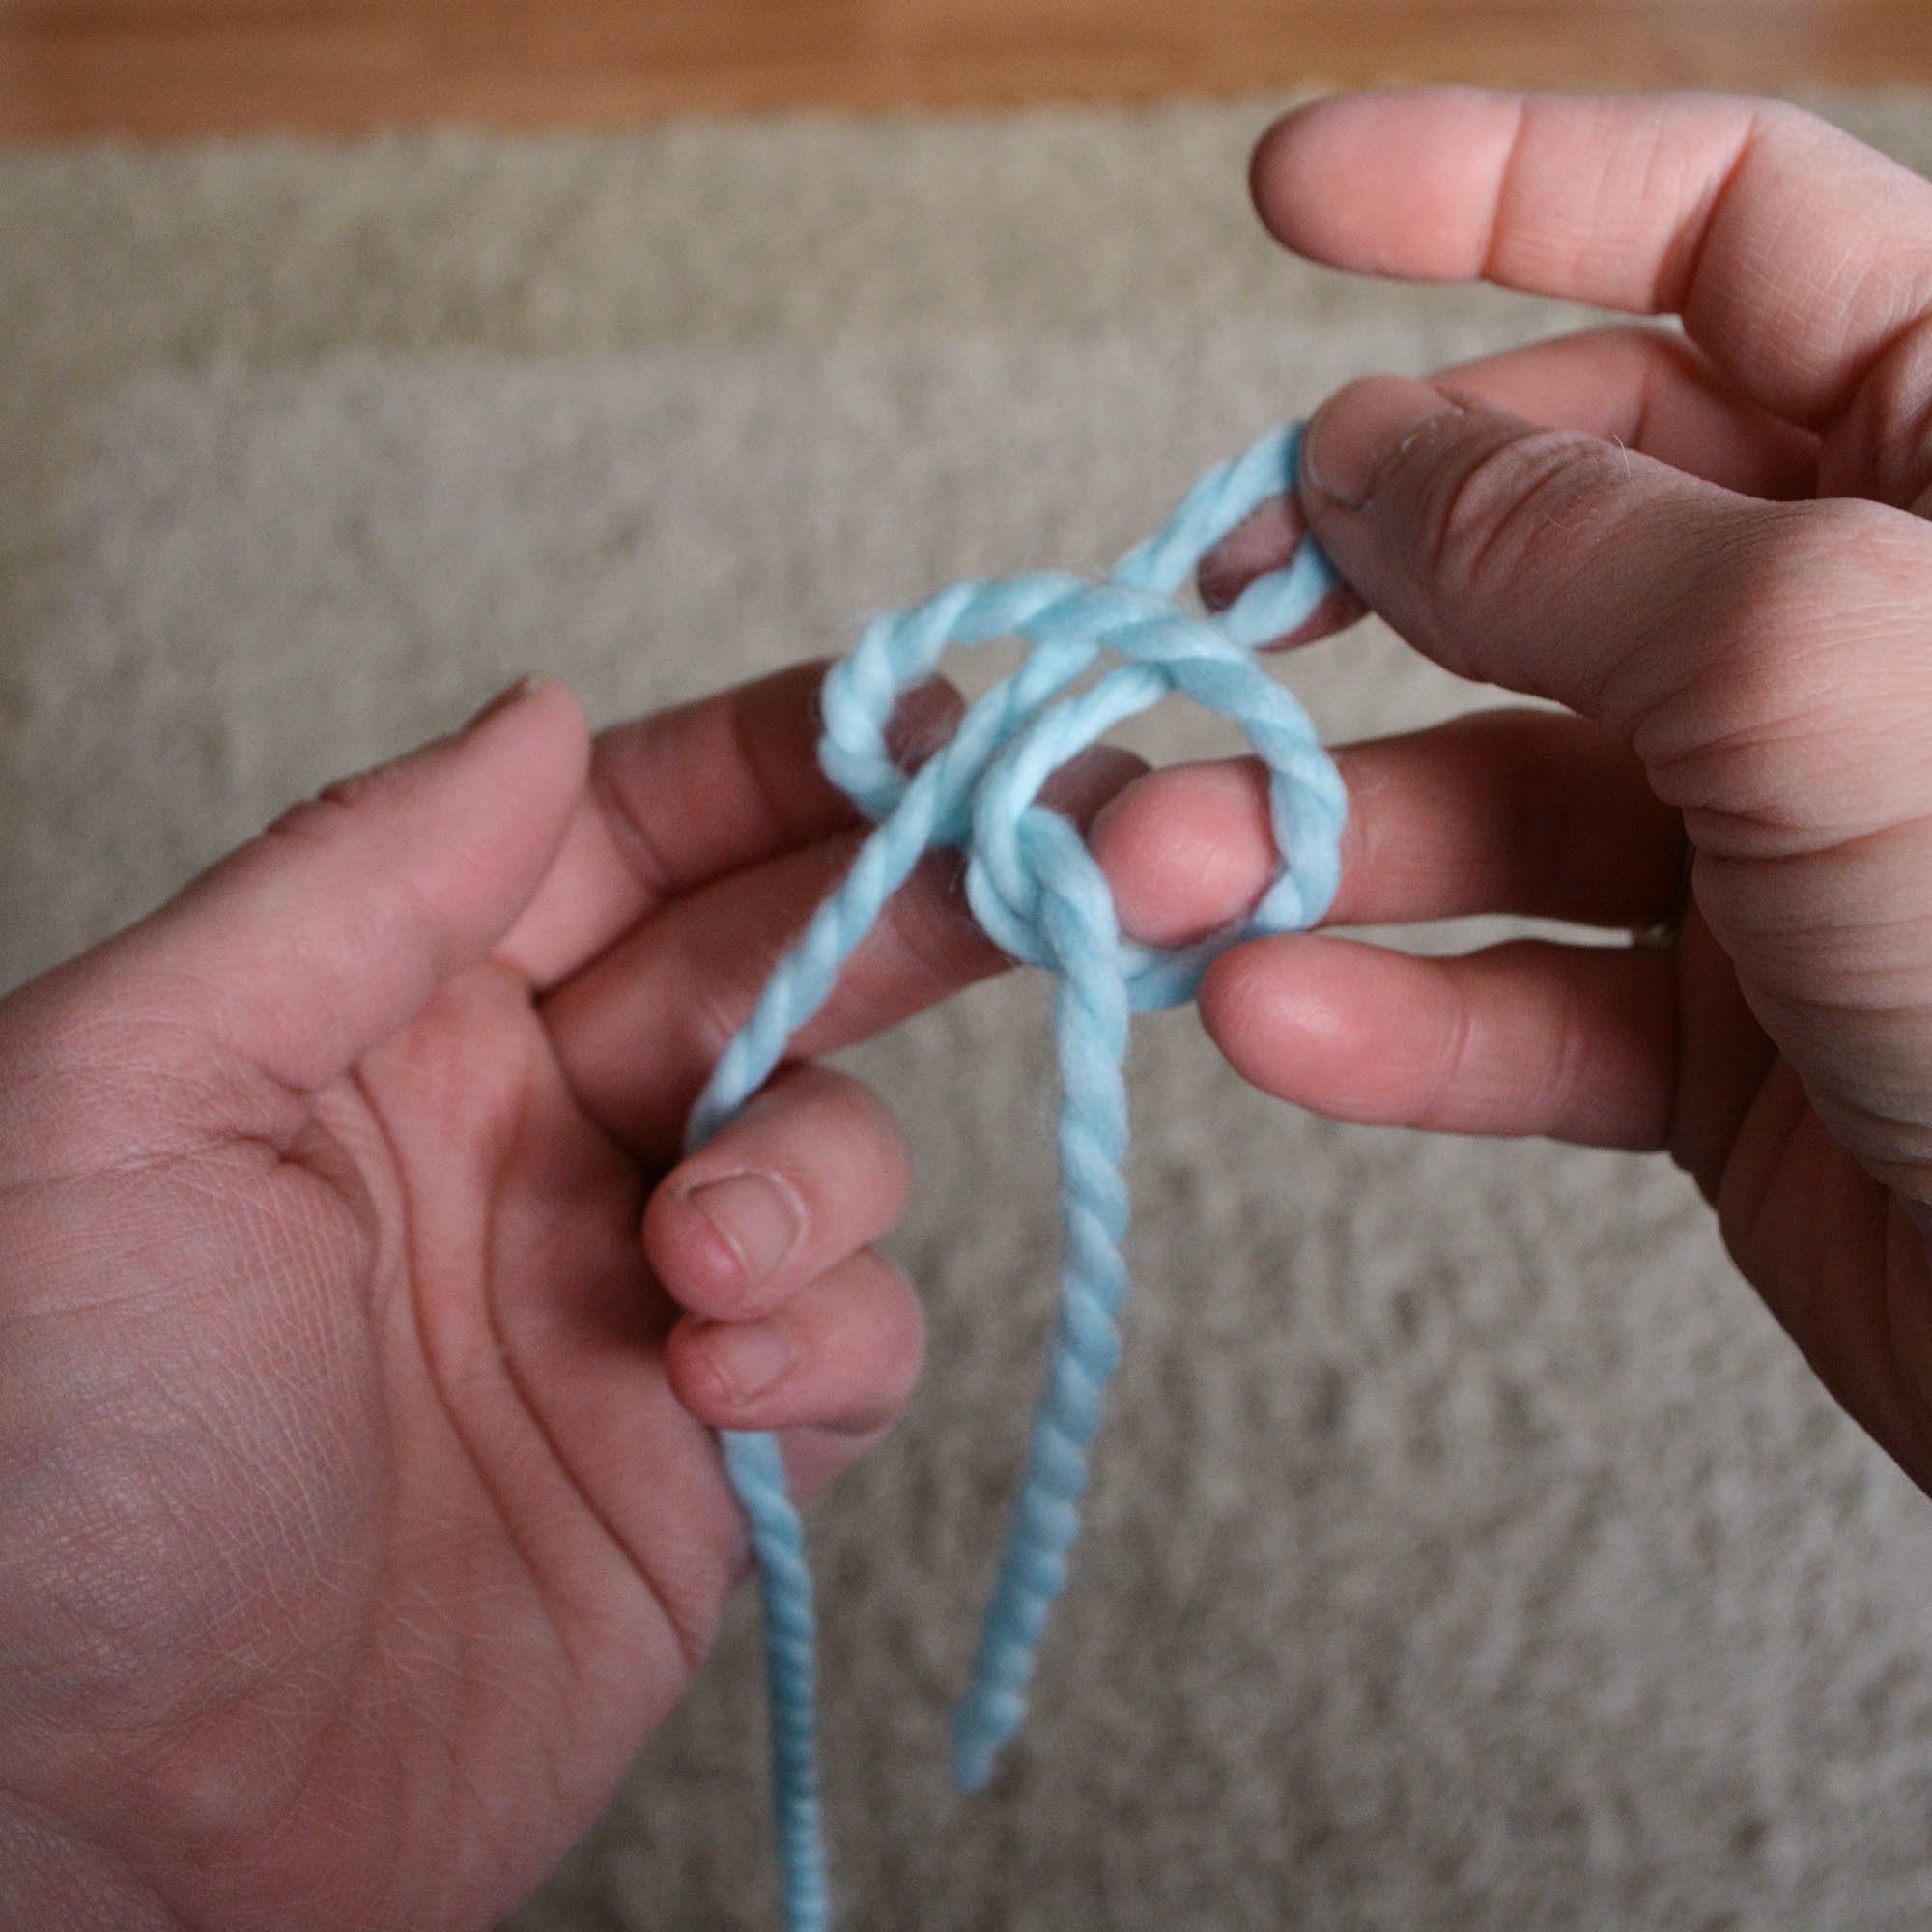
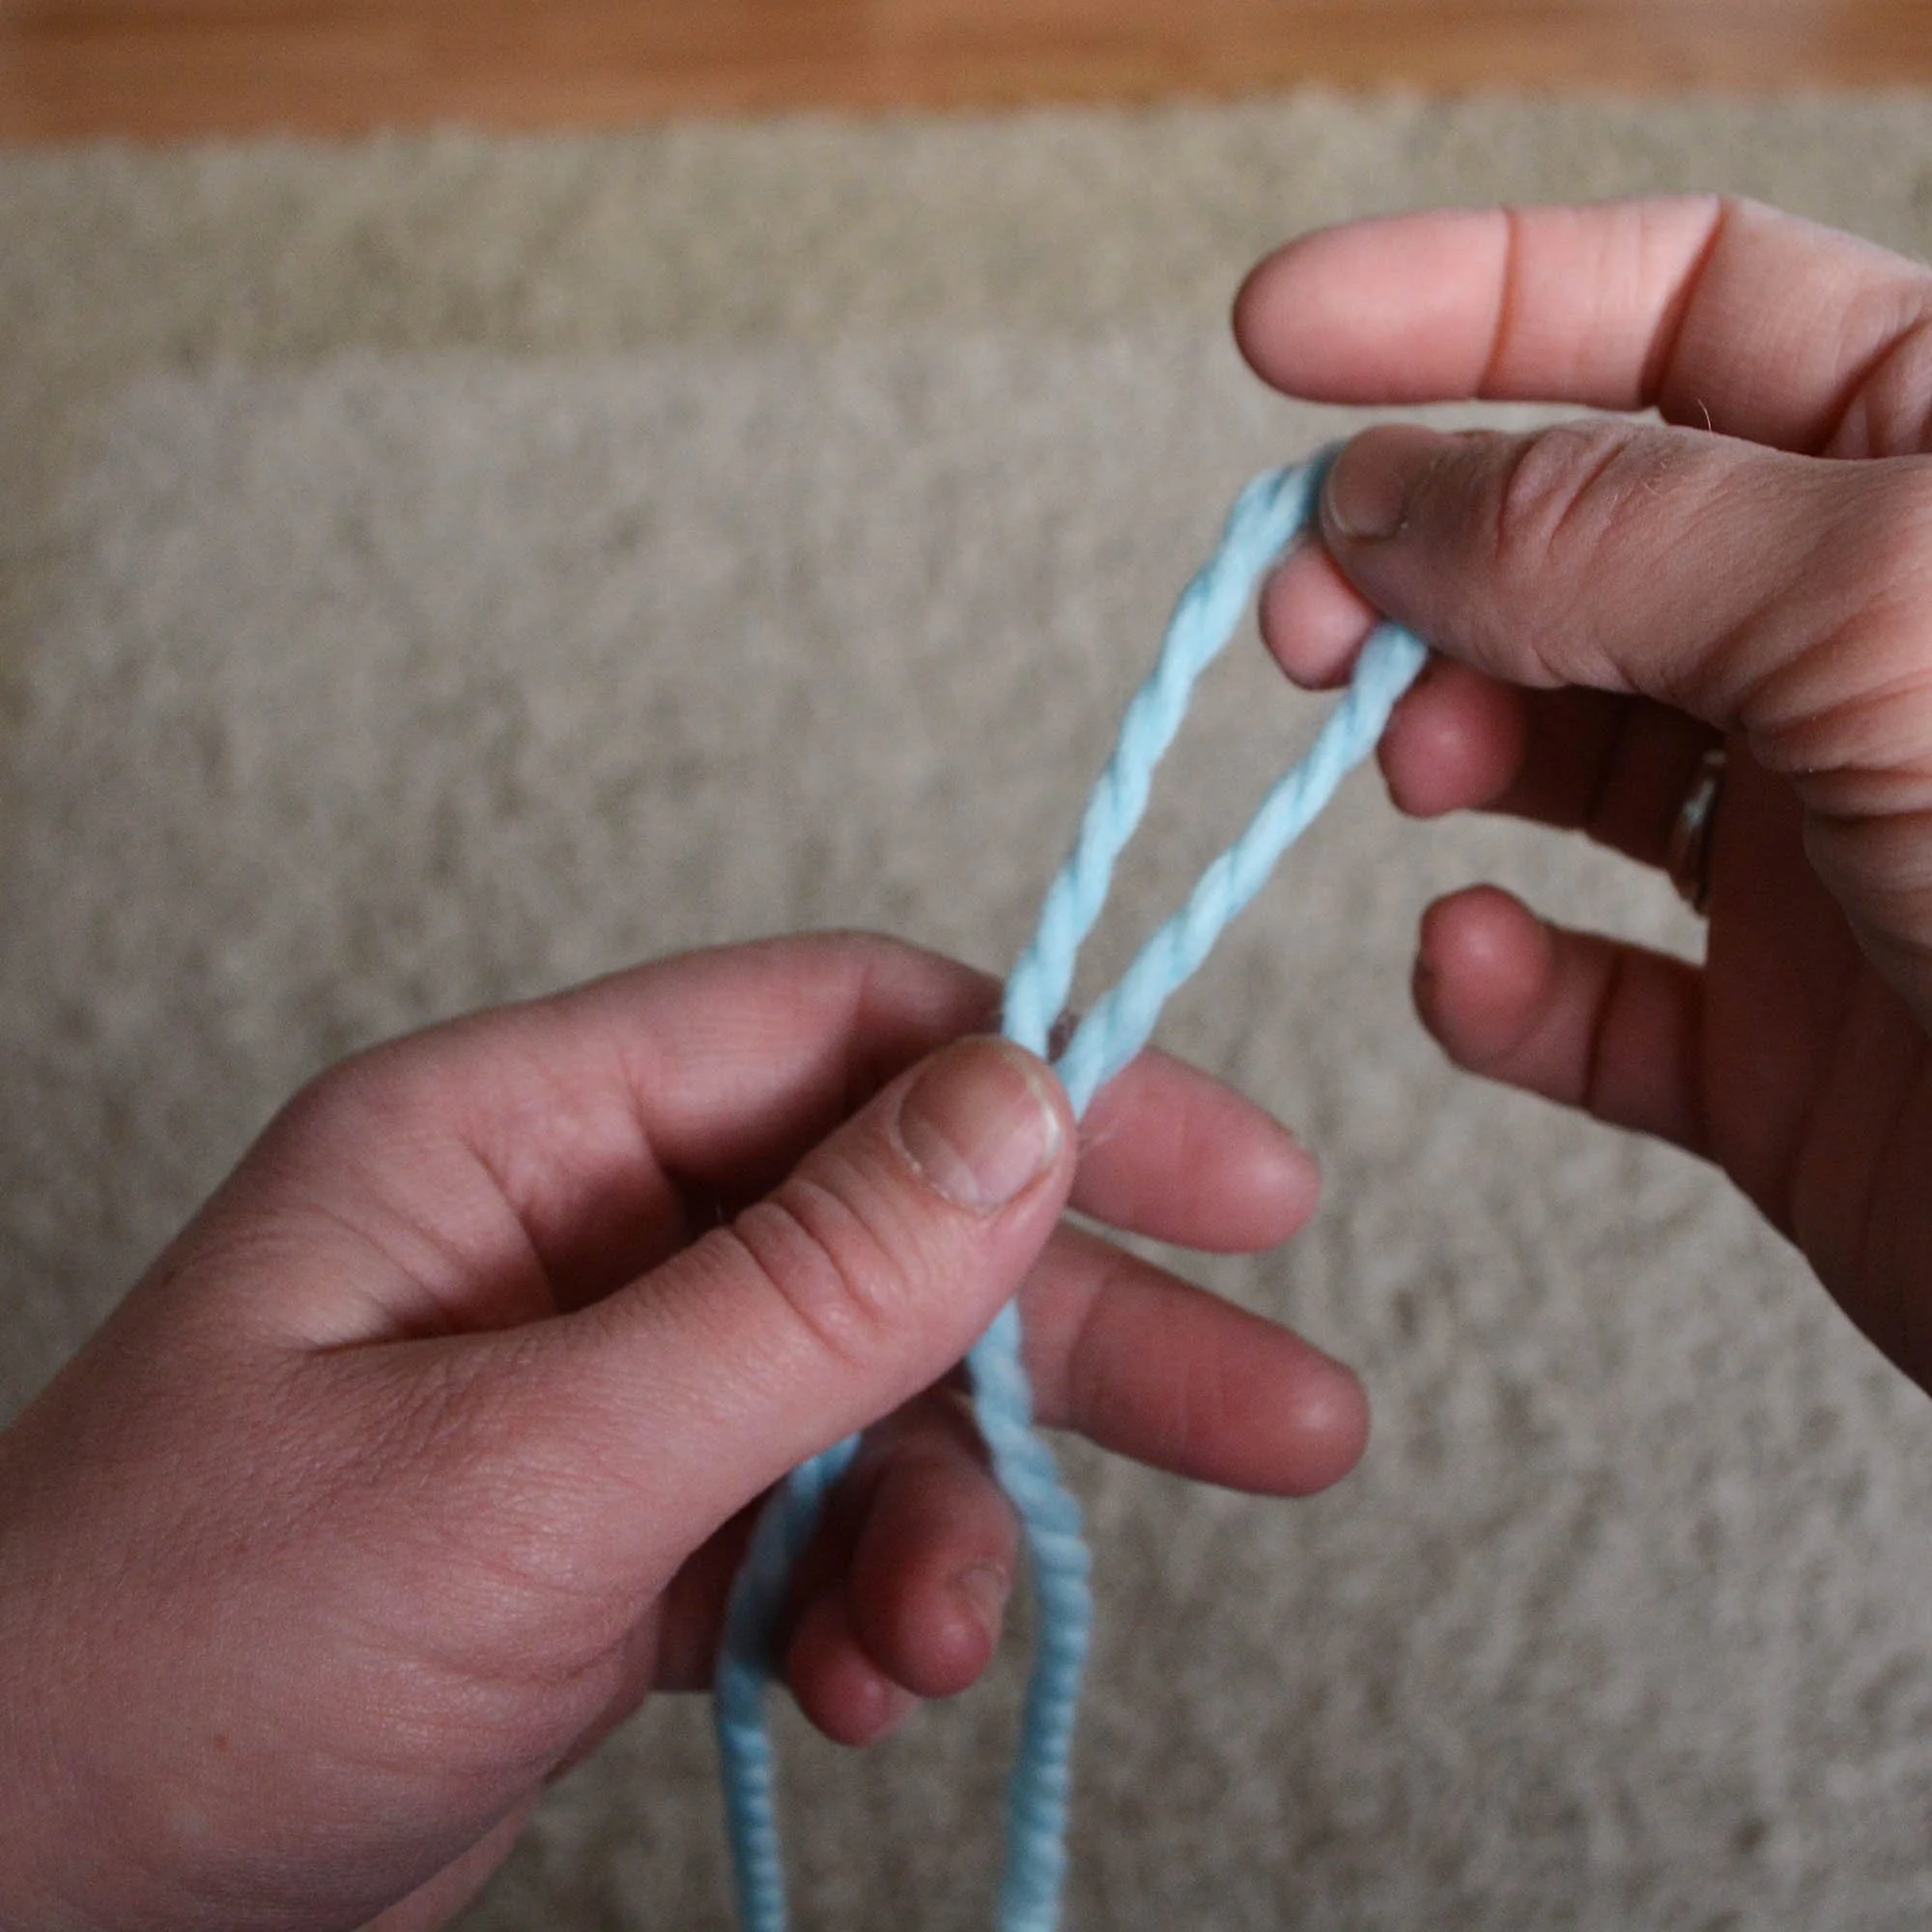
Step One:
Holding the ball end of the yarn in your non-dominant hand, use the dominant hand to twist the yarn into a loop with the loose end on top.
The yarn should not be twisted around itself. There will be a simple circle with the loose end of the yarn laying on top of the ball end of the yarn.
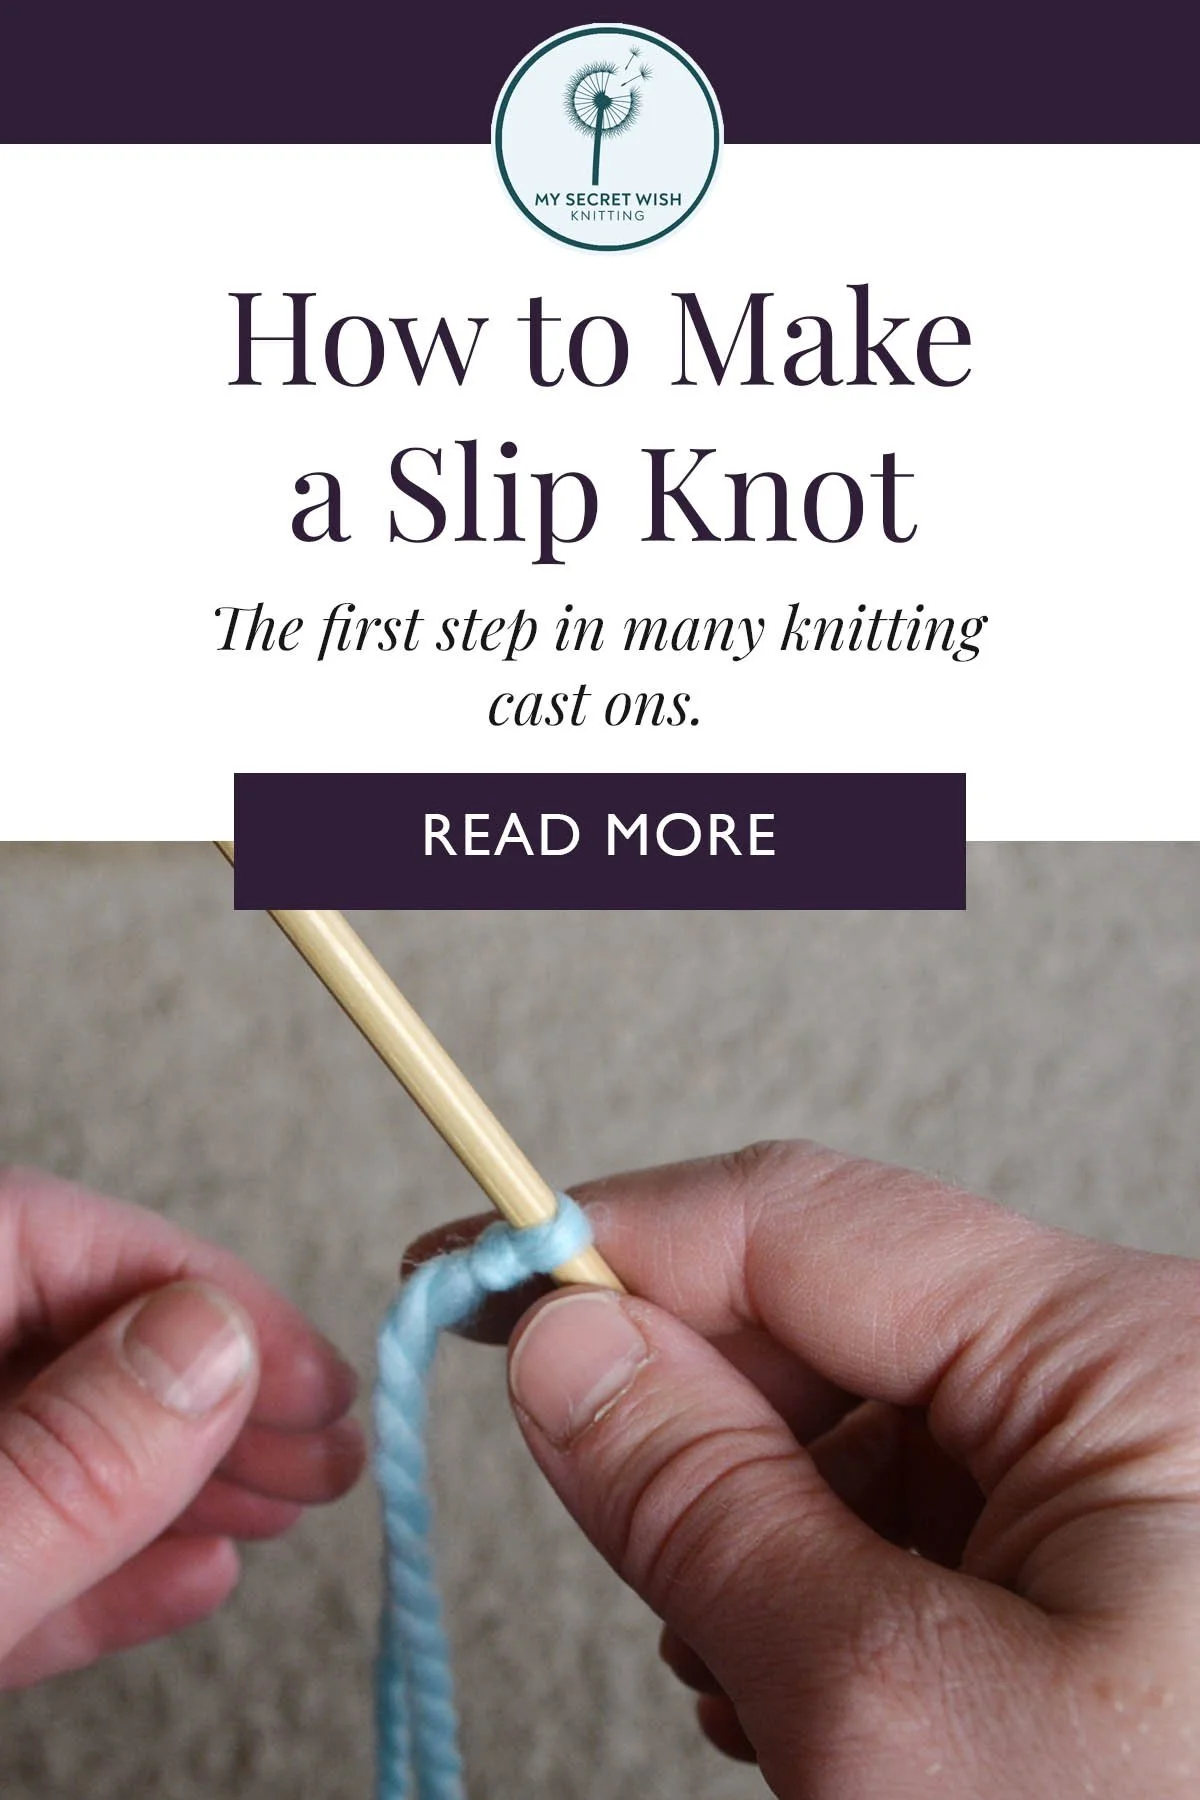
Step Two:
Reach through the loop with the thumb and forefinger of your dominant hand and pinch the ball end of the yarn. Pull the pinched section through the loop.
Step Three:
Tighten the loop into a knot by tugging on the two yarn ends with your non-dominant hand, leaving a yarn tail between six inches and eight inches (15 and 20 cm) long.
If you find tugging on both ends leaves a tail that’s too short, only tug on the ball end of the yarn.

Step Four:
Place the loop on a needle. Pull on the ball end of the yarn to tighten the loop, but be sure not to overtighten.
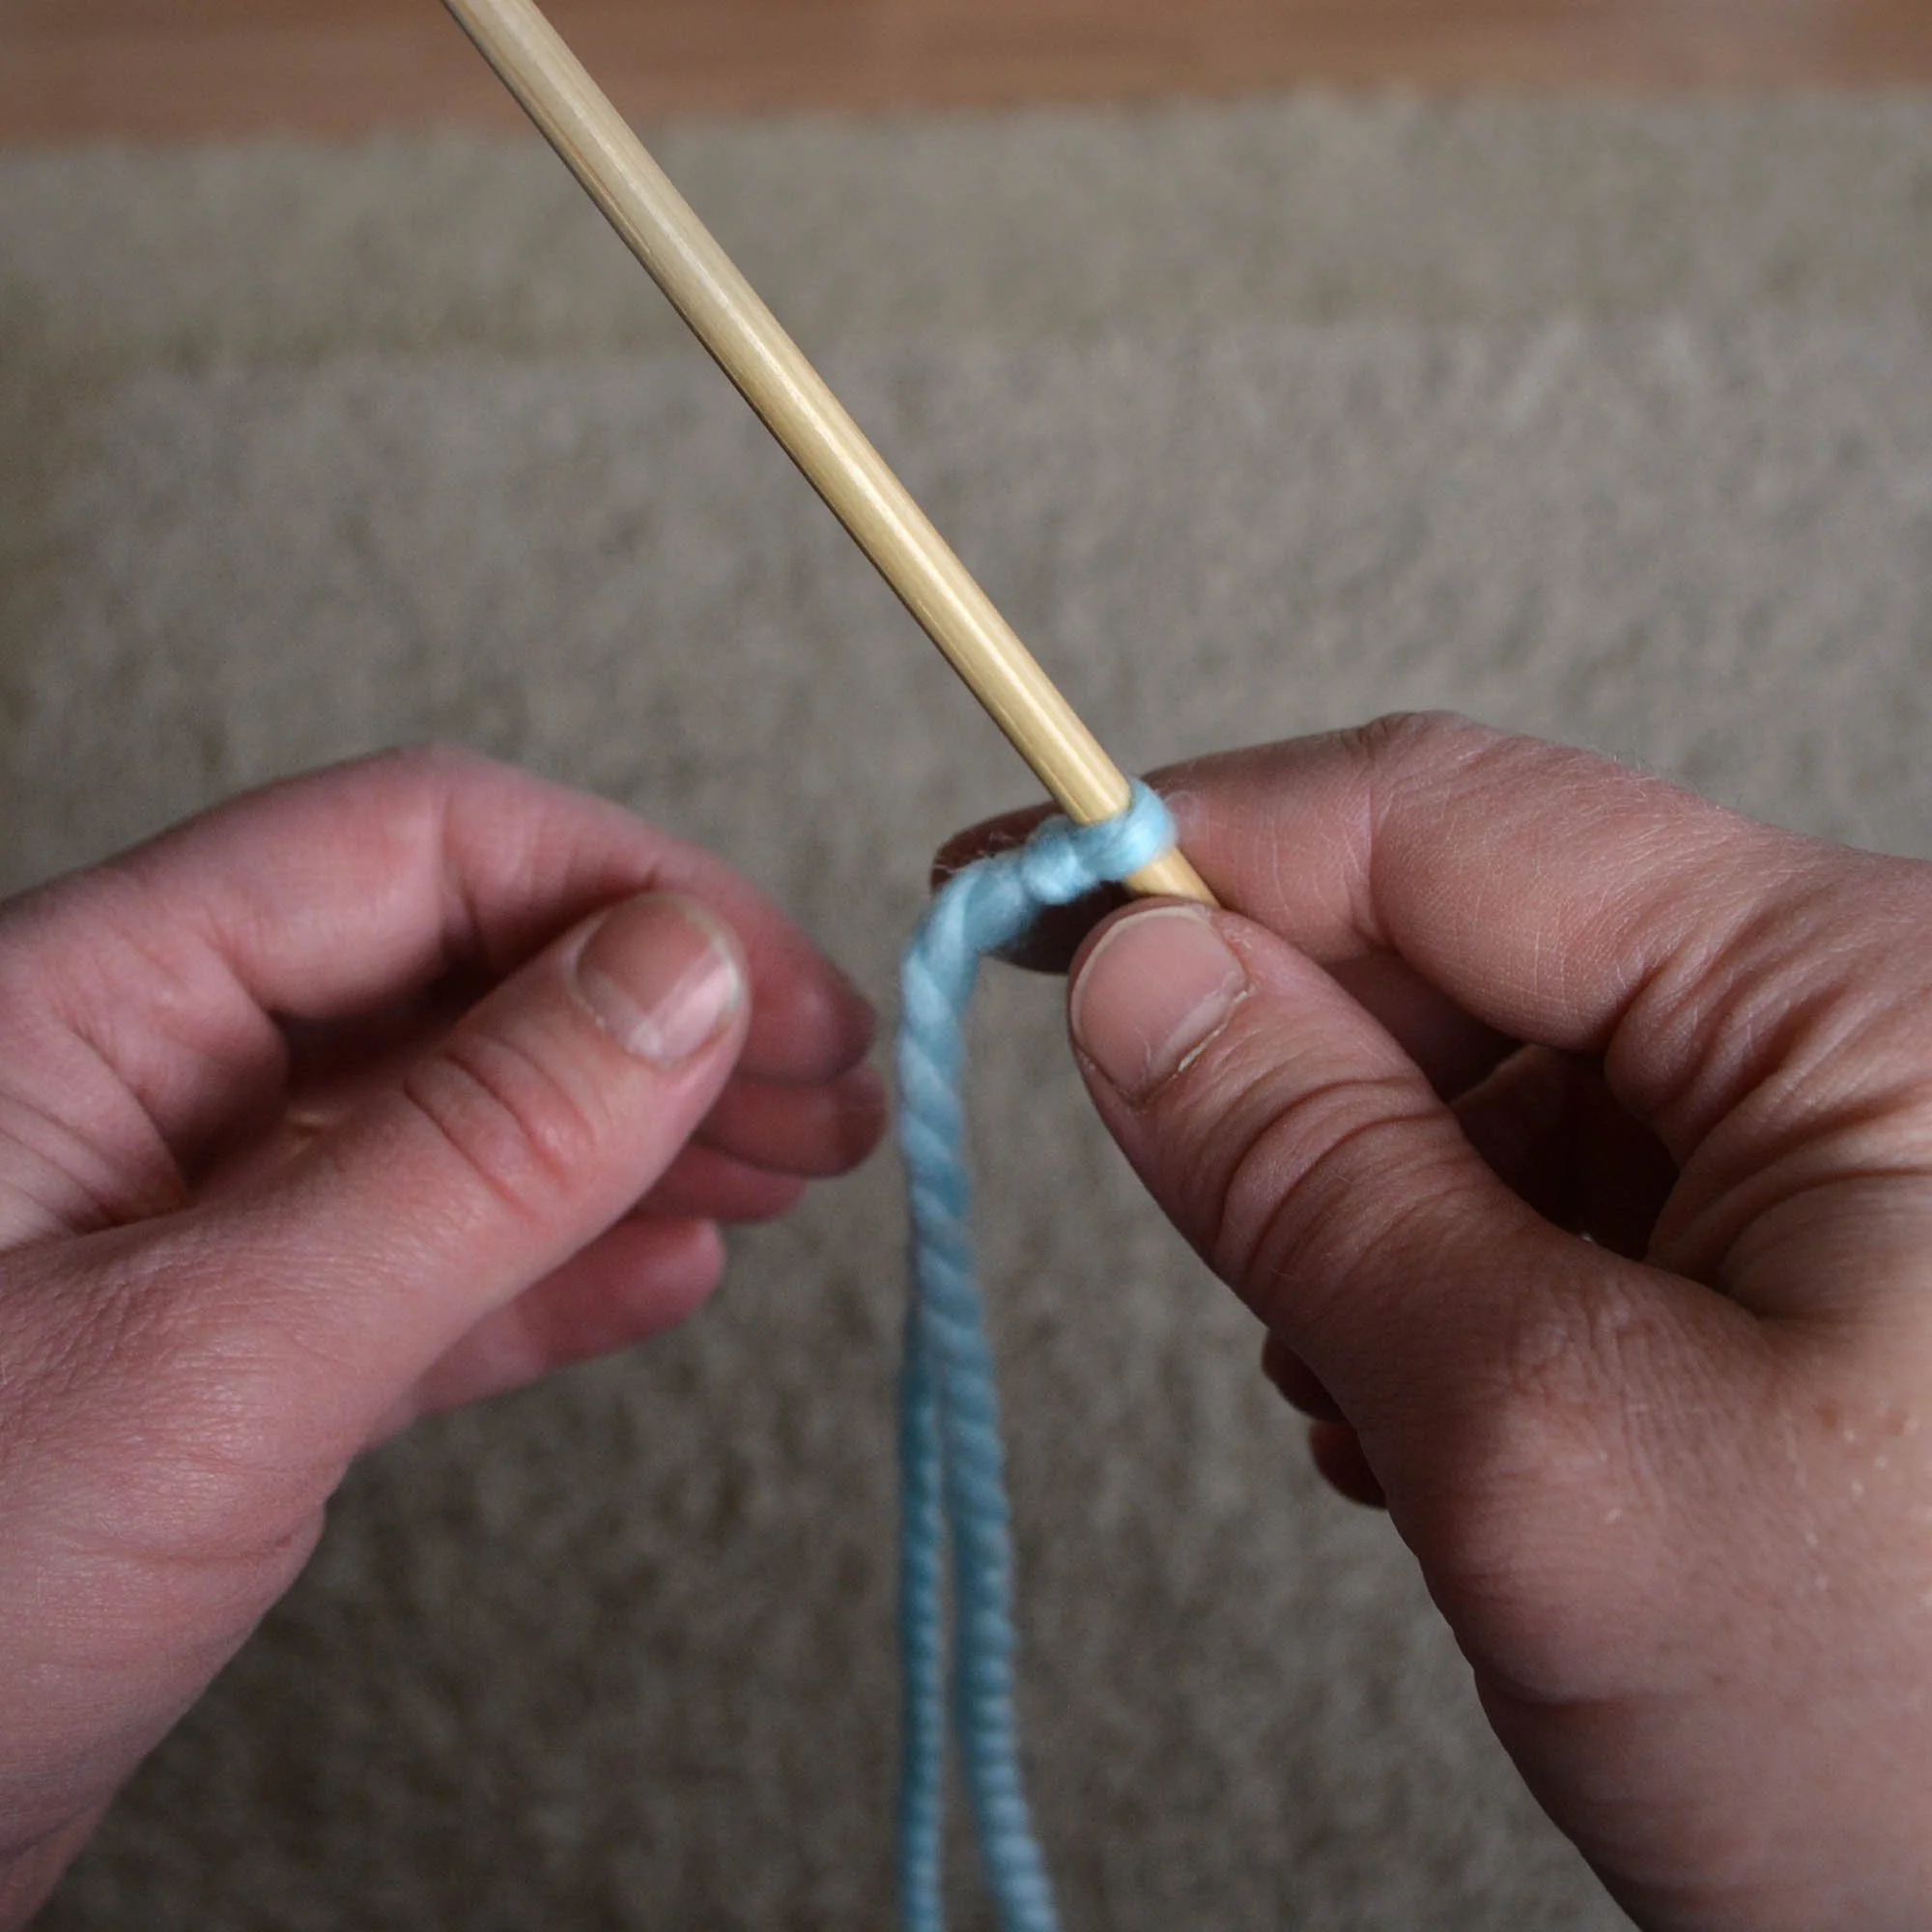
Step Five:
Your slip knot is complete! In most cast ons, it counts as the first stitch of your cast on row.


